With Ron Free (Rocket Products) engineering and James Brown testing this tool, a better way was developed to measure and set all four wheels for toe and camber with consistent results. No more trying to find the center of the tires and then having something in the way of the rulers, etc. It is amazing to me, for example, how critical toe settings are to car performance and ease of driving. This kit is designed for 12mm hex drives on the axles, such as used by Associated. The rear setup wheels' center in the kit are 3mm higher than the front setup wheels' center.
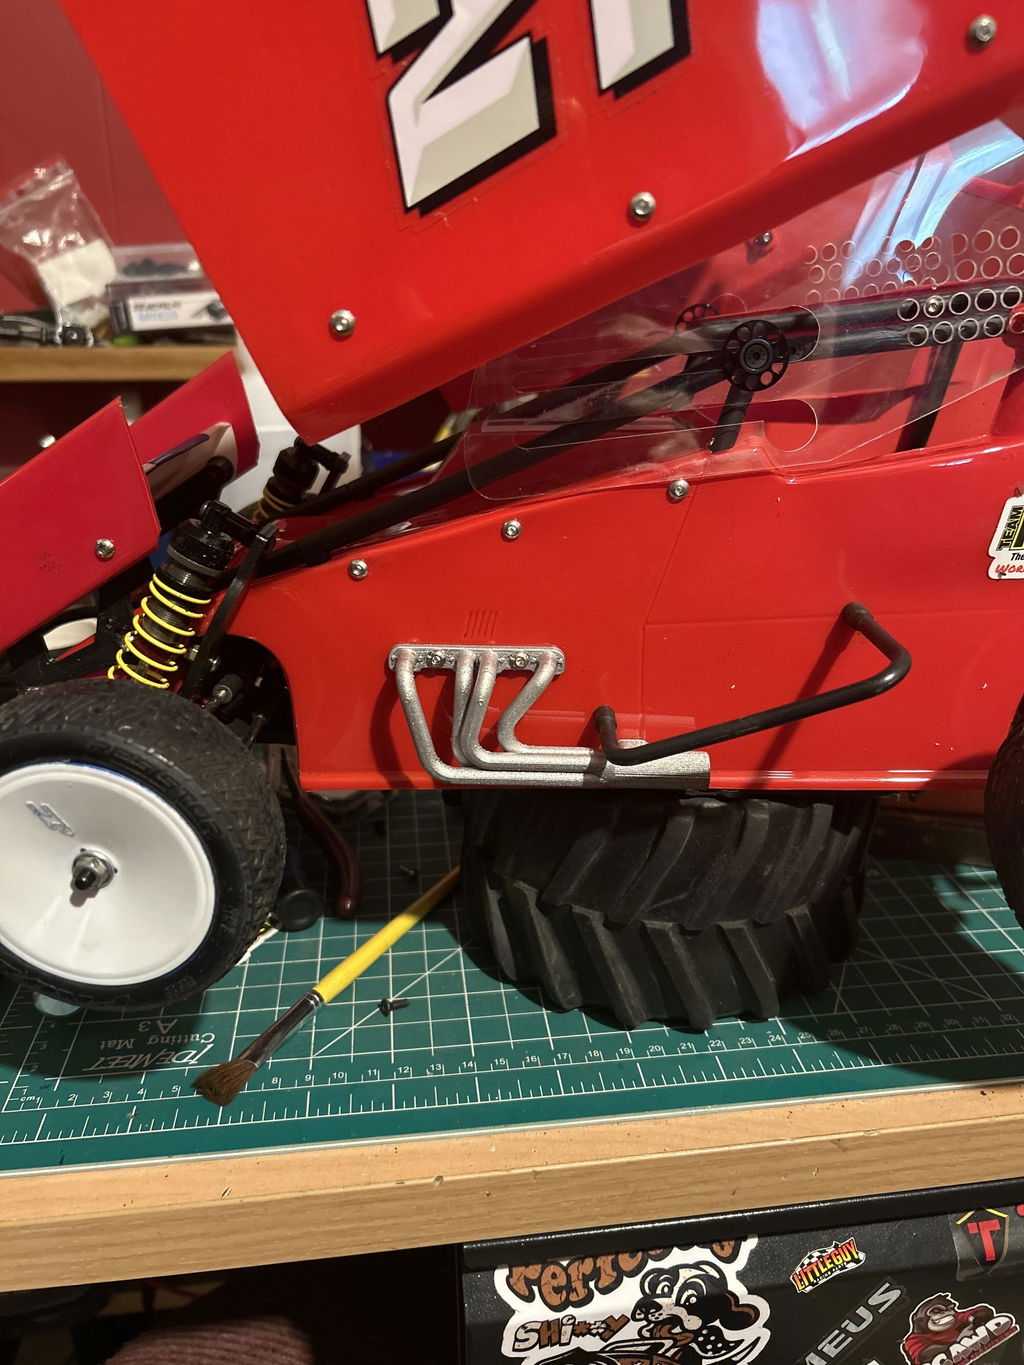
If this is a new car, make sure you setup the suspensions (toe links, camber links, etc.) as shown in your car's manual. The manufacturer has spent hundreds of hours to determine what standard settings work! If this car has been on the track for a while, you may want to revisit the factory setup before proceeding. With the setup wheels of this kit seated against the hex drives of the axles (use the included knurled nuts to keep the setup wheels damage free), you get a true representation of how the suspension is set.
There are many great resources on the 'net, so I will not go into how toe, camber, and ride height affects the car, but I will show you how this kit is used to get accurate numbers. 'Toe' is the measurement of the difference between the front of two tires compared to the rear of the same tires. Generally, toe is expressed in degrees, but measured in millimeters for our cars. These tools are designed so a 2mm difference in measurement (between front and rear) is equal to one degree of toe adjustment. Without a consistent measurement point (we used to try to find the center of the installed tire, and then eyeball the distance for toe measurement), you will not be accurate. When checking camber with tires installed there is some variability on where to put your camber gage. These setup wheels allow easy access and consistent, flat measuring points.
| With the setup wheels installed as shown here (the wheels marked 'F', are for the front), use a rigid, thick steel 12" ruler (metric) and measure the distance between the sharp points of the setup wheel arms for the first measurement. Record the reading. | 
|
| Move your ruler to the rear of the setup wheels and record the measurement. Subtract the front measurement from the rear measurement. If the front measurement is longer than the rear measurement, then you have 'toe out'. The reverse measurement (rear is longer then the front measurement), you have 'toe in'. 2mm difference is equal to 1 degree of toe. |  |
|
With the setup wheels installed, it is easy to have consistent ride height measurement. Drop the car on the flat plate (helps to reduce the 'stiction' caused by the seals in shocks, and friction in the moving parts). Take your measurement front and rear with your ride height gage as shown. Nathan Dean likes to use a digital caliper measurement from the top of the chassis to the flat surface. Place your camber gage against the outside of the setup wheels to get the camber angle of each wheel. |
 |
| The setup wheels with the 'F' are for the front and the setup wheels with the 'R' are for the rear. Use the knurled nuts to protect the setup wheels' flat surface (the regular wheel nuts will chew up the surface). |  |